Underground power cable installation is the process of burying electrical conductors beneath the ground surface inside protective conduits or ducts, connecting power sources to homes, businesses, and infrastructure — safely out of sight and out of harm's way.
Here's a quick overview of the core steps:
For developers and general contractors in the Carolinas, getting this process right isn't optional — it's the difference between a project that passes inspection and one that causes costly delays or safety failures.
Underground systems offer real advantages over overhead lines. They're far less vulnerable to storm damage, they don't create wildfire risk, and they keep job sites and neighborhoods looking clean. In Germany, where 73% of medium-voltage cables run underground, the national grid reliability index (SAIDI) sits below 20 — one of the best in the world.
But underground installation is also more complex than stringing wire on poles. The depth requirements vary. The conduit specs matter. The separation distances from gas lines, water mains, and fiber optics are non-negotiable. And mistakes made underground are expensive to fix.
This guide walks you through every step — from planning and permitting to testing and site restoration — so your next project is done right the first time.

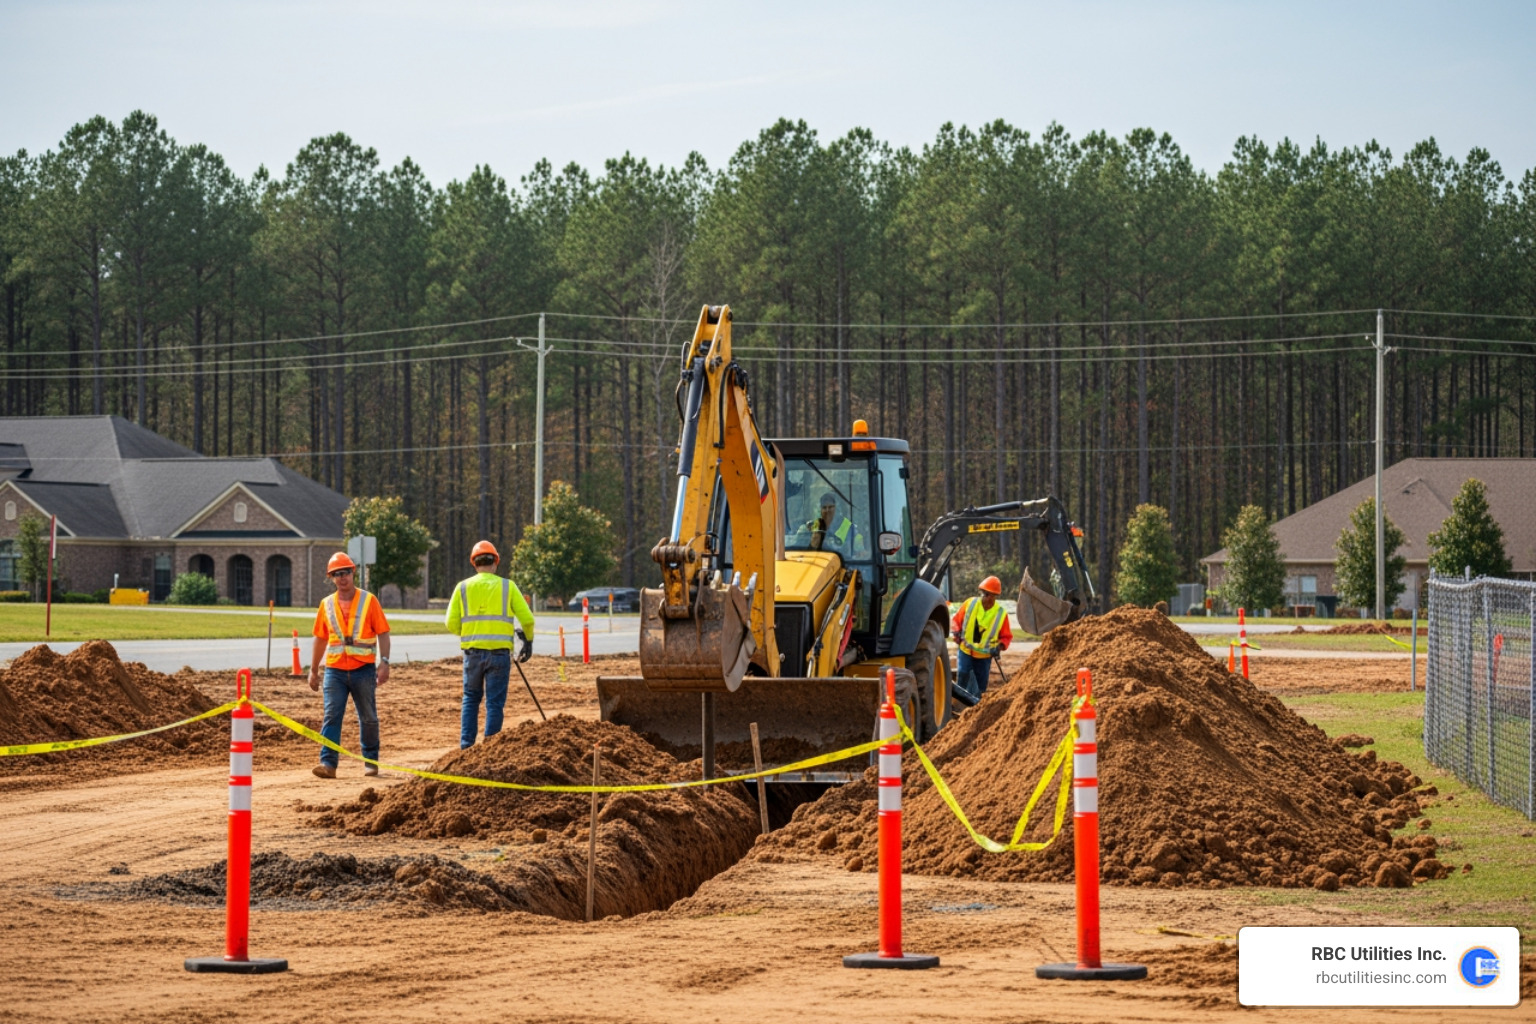
Before a single shovel hits the dirt in Charlotte or anywhere across the Carolinas, we have to talk about planning. You wouldn't build a skyscraper without a blueprint, and you shouldn't start an underground power cable installation without a comprehensive site survey.
At RBC Utilities Inc., we begin by identifying the "lay of the land." This involves a geographical survey to ascertain soil characteristics. Are we dealing with the famous red clay of North Carolina or the sandy loams of the South Carolina coast? Soil type dictates how we dig and how we backfill.
In our region, calling 811 is the law. You must notify local utility companies at least two to three business days before excavation begins. They will come out and mark existing lines—gas, water, and existing electrical—with color-coded paint or flags. Skipping this step is the fastest way to cause a neighborhood-wide outage or, worse, a fatal accident.
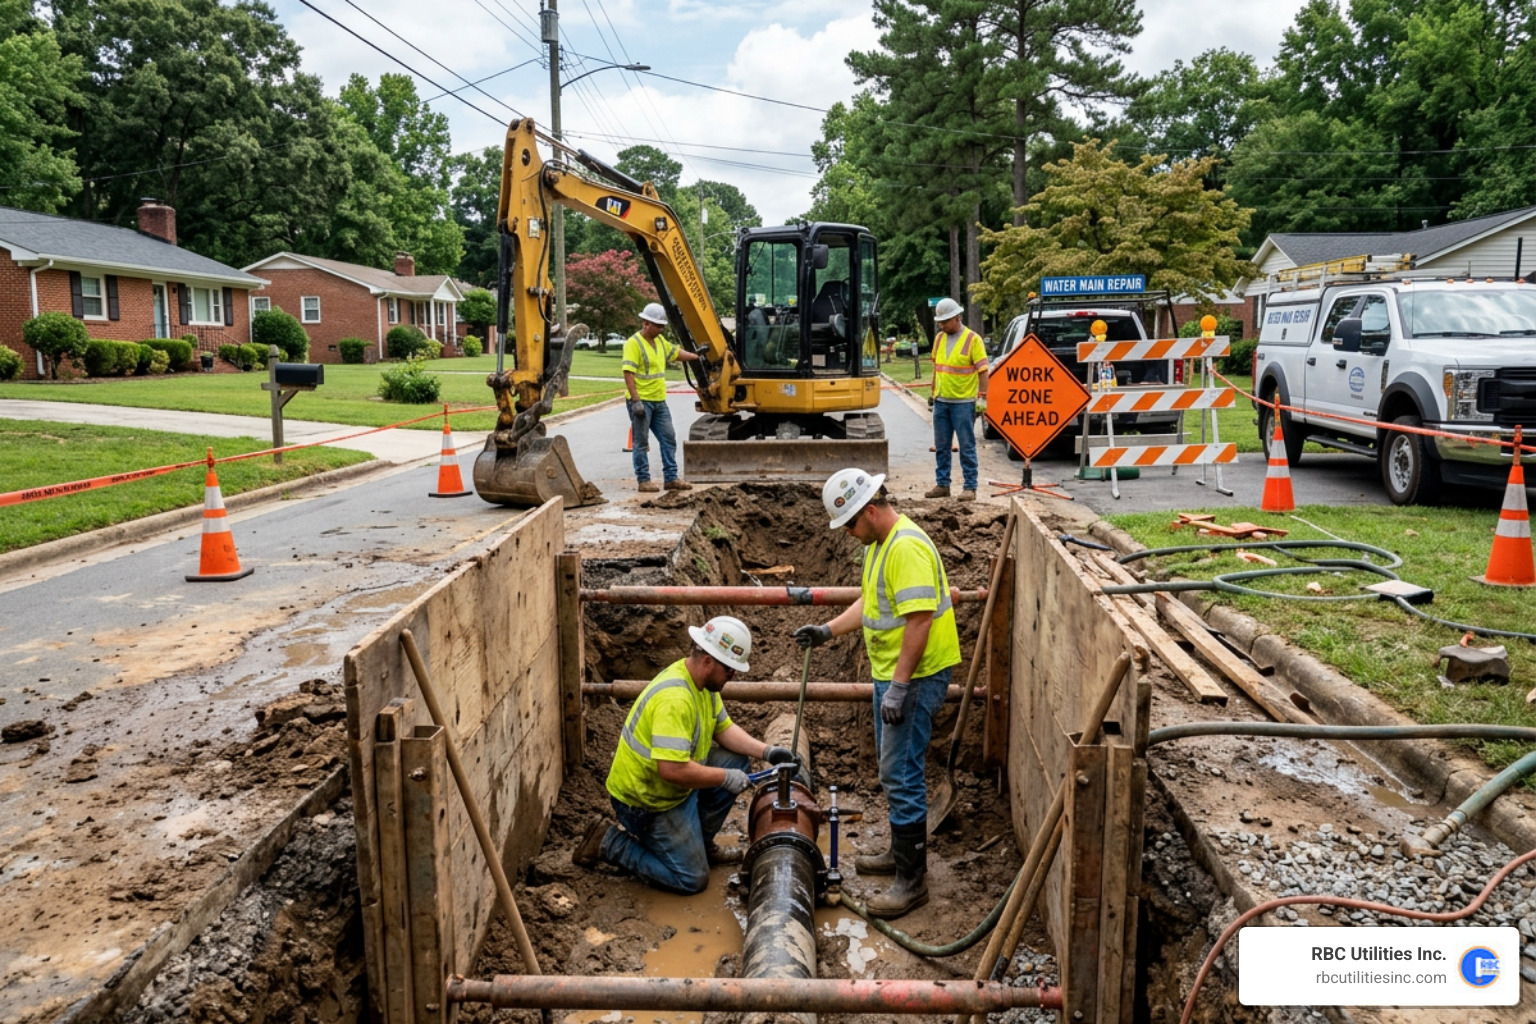
Safety isn't just a buzzword for us; it’s our culture. When we’re in the trench, we follow strict OSHA compliance guidelines. For example, any trench deeper than five feet requires shoring, sloping, or benching to prevent cave-ins. We also keep the "spoil" (the excavated dirt) at least two feet away from the edge of the trench to prevent it from sliding back in on our crew.
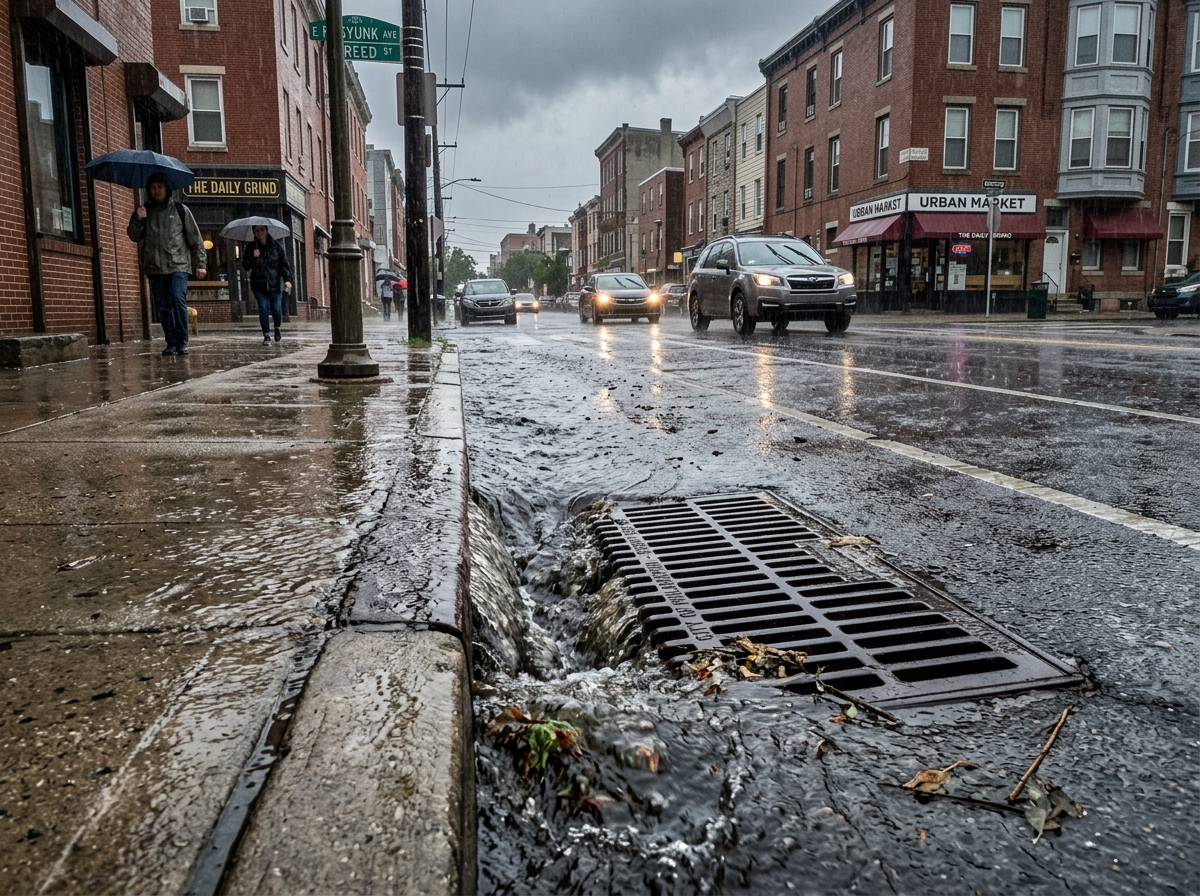
Beyond immediate physical safety, we look at the long-term reliability of the grid. There is significant scientific research on how buried lines mitigate storm-related outages, especially during the hurricane seasons that frequently brush the Carolinas. By placing infrastructure underground, we protect the community from the 100-mph winds that snap wooden poles like toothpicks.
Navigating the red tape is part of the job. In the Carolinas, we adhere to the National Electrical Code (NEC) and the National Electrical Safety Code (NESC). These aren't just suggestions; they are the standards that ensure every connection is fire-safe and durable.
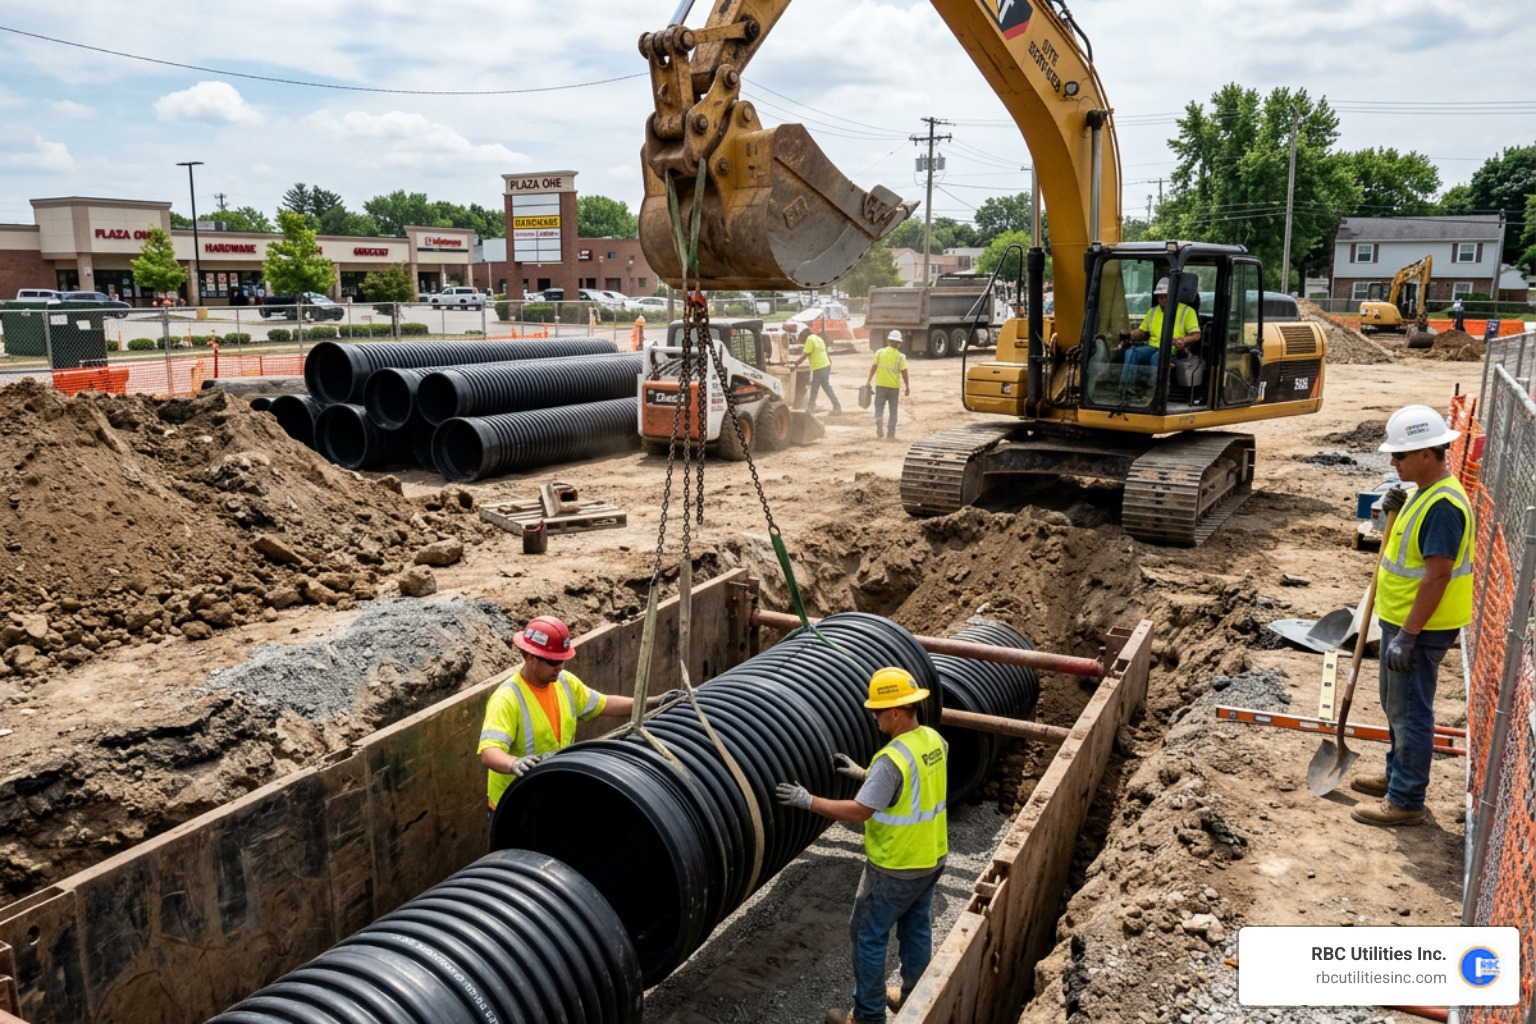
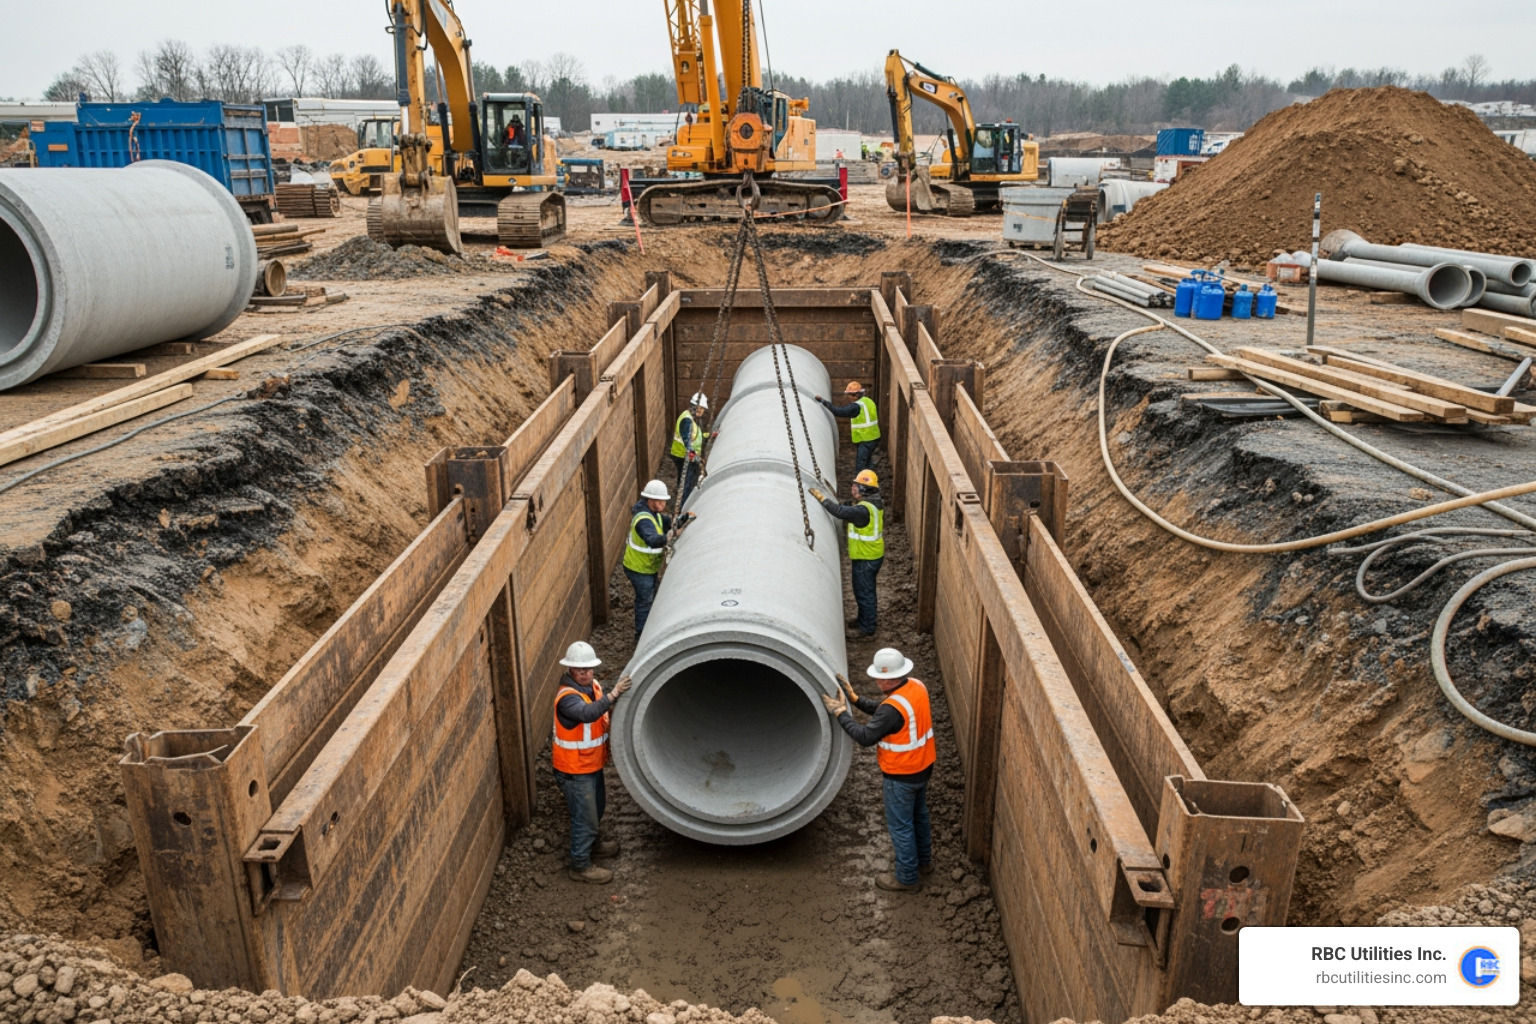
Once the permits are in hand and the lines are marked, it's time to move some earth. There are three primary ways we handle excavation, depending on the environment.

For most large-scale residential or commercial projects, we use trenching machines or backhoes. This is the most efficient method for long, straight runs. We typically aim for a trench width of 0.6 to 1.2 meters. It’s fast, but it requires a clear path without existing underground obstacles.
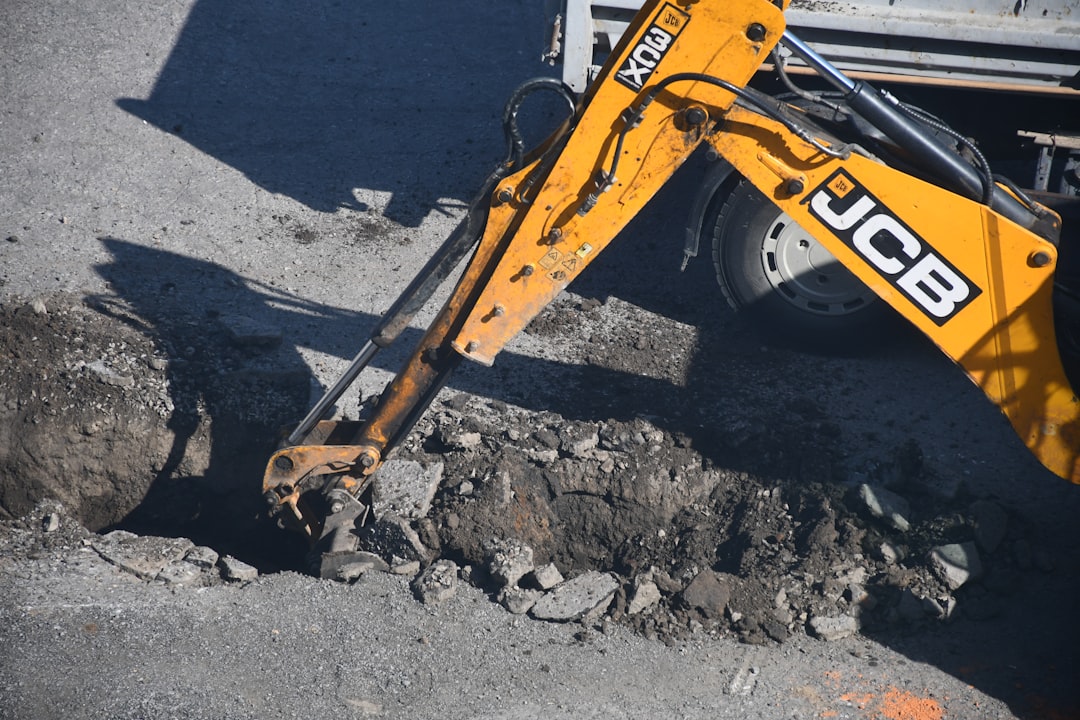
Sometimes, the "old school" way is the only way. If we are working near energized equipment or in a "congested" area with dozens of existing pipes, we hand-dig. We often hand-dig the final two feet when approaching an energized transformer pad to ensure we don't accidentally nick a live line.
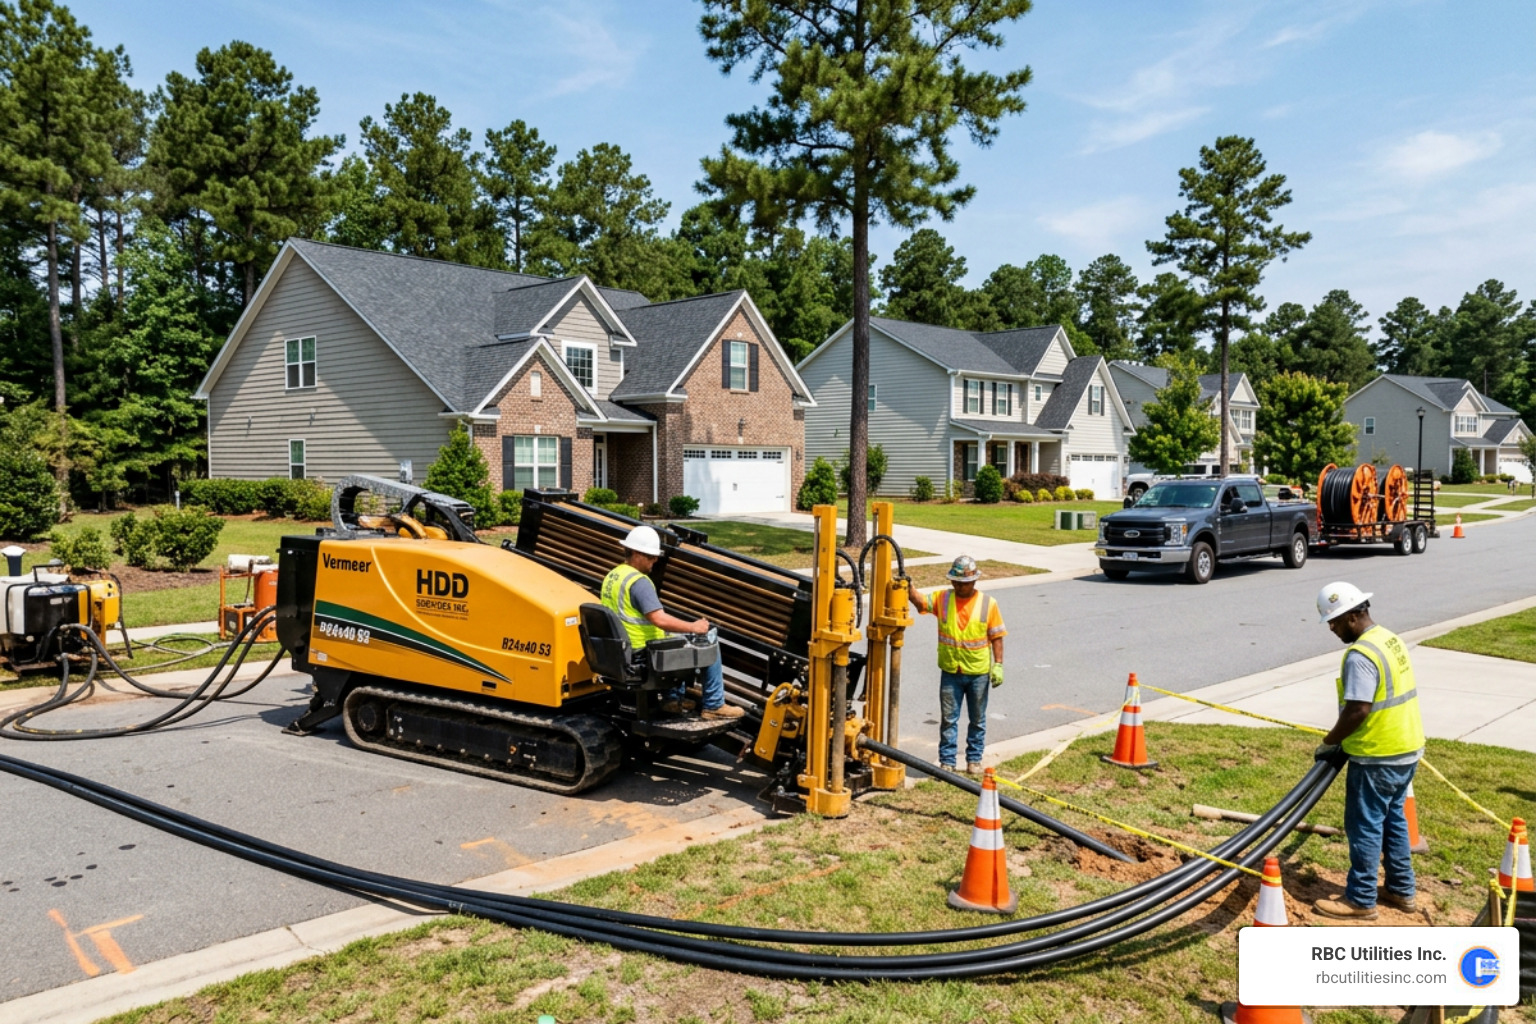
In sensitive areas—like under a busy Charlotte highway or a protected wetland—we use Horizontal Directional Drilling (HDD). This "no-dig" technology allows us to steer a drill head underground, creating a pathway for the conduit without disturbing the surface. It’s ecologically superior and often more economical when you factor in the cost of repairing a torn-up road. You can find more info about our infrastructure services and how we apply these technologies on our service page.
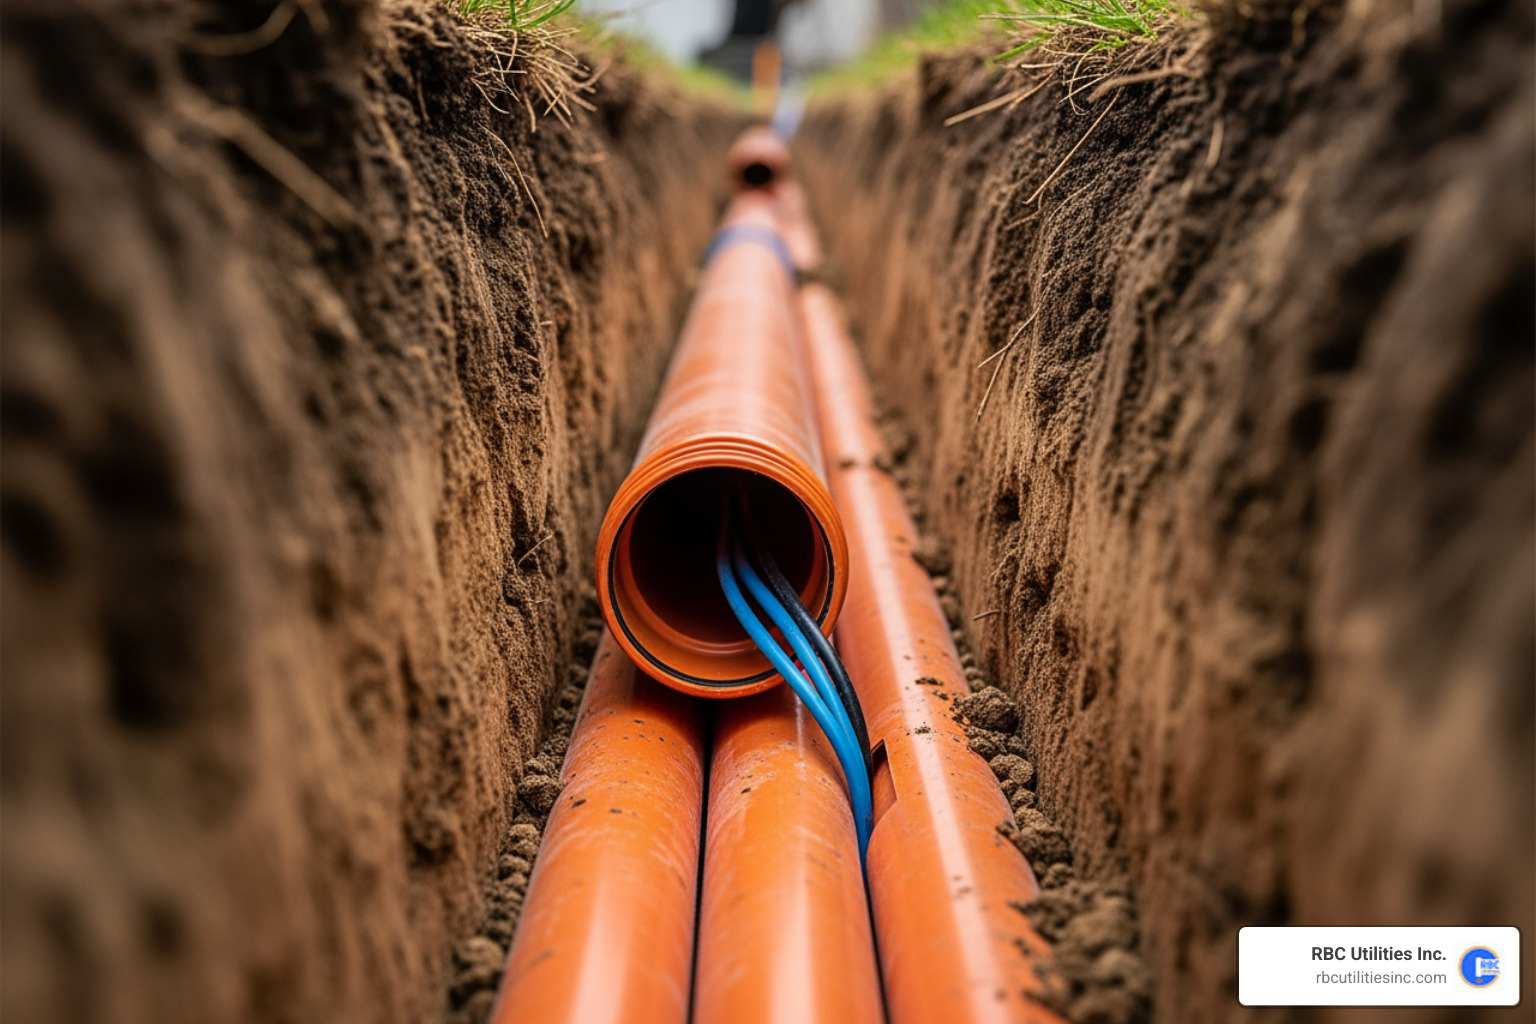
The conduit is the "armor" for your power lines. Once the trench is ready, we lay the pipe. But you can't just throw the cable in there. It requires a process we call "proofing."
We pull a proofing mandrel through the conduit first. This is a device slightly smaller than the pipe's inner diameter (usually about 80-87% of the diameter). If the mandrel gets stuck, we know the pipe is crushed or obstructed. Once the pipe is "proved," we use a fish tape or a high-strength pull rope (rated for at least 1,000 lbs of tension) to get the cable through.
To prevent friction from damaging the cable jacket, we apply specialized lubricants. We also monitor the pulling tension using a dynamometer. If you pull too hard, you can actually stretch the copper or aluminum inside, leading to a "hot spot" and eventual failure. For a deeper dive, check out this detailed technical guide on cable laying procedures.
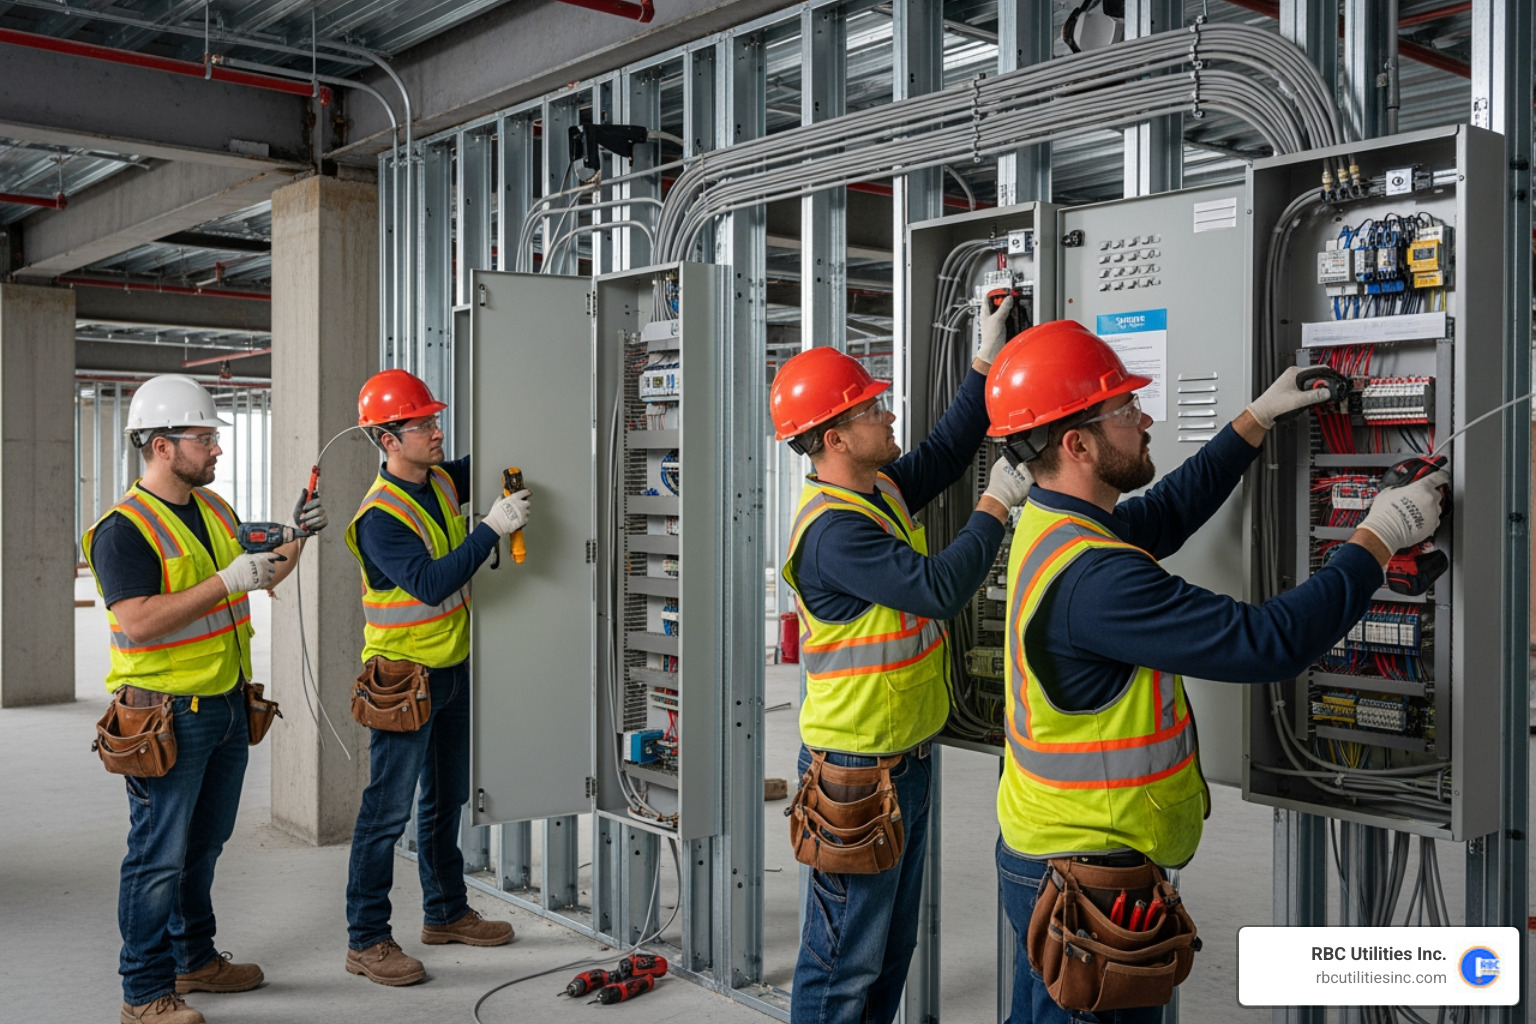
This is where the "art" of electrical work comes in. The points where cables connect (joints) or end (terminations) are the most vulnerable parts of the system.
How deep is deep enough? It depends on what’s happening on the surface. If we’re burying a cable under a sidewalk, it doesn't need to be as deep as a cable running under a heavy-truck loading dock.
We don't like to crowd our neighbors. When we install power lines, we must maintain specific "clearance zones" from other utilities. This prevents one utility from damaging another during future repairs.
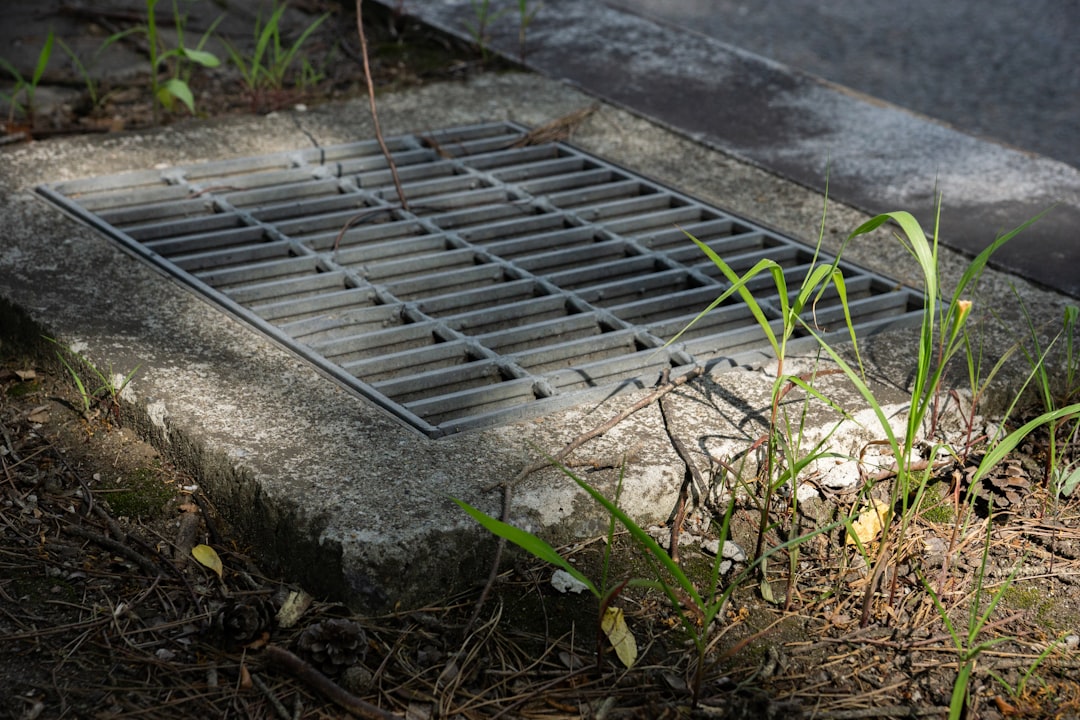
Since underground cables are invisible, we have to make them "findable." We use a multi-layered approach to warn future excavators.
Understanding the history and benefits of underground power infrastructure shows us that these marking standards have saved countless lives and prevented millions of dollars in damages since the days of Thomas Edison’s first "street pipes."
Before we flip the switch, we have to prove the system works. We don't just "hope" it's good; we verify it with science.
The most important test is the Insulation Resistance (IR) Test, often called a "Megger" test. We apply a high voltage to the cable to see if any current "leaks" through the insulation. If the resistance is high, the cable is healthy. If it’s low, we have a nick in the jacket or moisture in a joint.
We also perform a continuity test to ensure the cable isn't broken anywhere in the middle. Finally, we do "phasing." In a three-phase system, we have to make sure Phase A at the substation is still Phase A at the transformer. If you swap these, motors will spin backward—which is a great way to ruin a customer's day!
The job isn't done until the grass grows back. Backfilling is a precise process, not just dumping dirt back into a hole.
For most residential secondary lines (120-240V) in the Carolinas, the NEC requires a burial depth of 24 inches for direct-buried cable (like UF-B) or 18 inches if the cable is inside a PVC conduit. If you're using rigid metal conduit, you can sometimes go as shallow as 6 inches, though we rarely recommend it for primary lines.
Yes, you can use "Direct Burial" rated cables like UF-B or URD. However, at RBC Utilities Inc., we almost always recommend a conduit system. Conduit protects the cable from sharp rocks and shovels, and it allows you to pull a new cable in the future without digging up your entire yard.
Always dial 811. It is a free service that coordinates with all local utility providers to mark their lines. Never rely on old site maps, as utility lines are often moved during road work or previous repairs.
Installing underground power lines is a massive undertaking that requires a blend of heavy machinery, electrical expertise, and a "safety-first" mindset. From the initial 811 call to the final Megger test, every step is designed to build a grid that is resilient against the Carolinas' toughest weather.
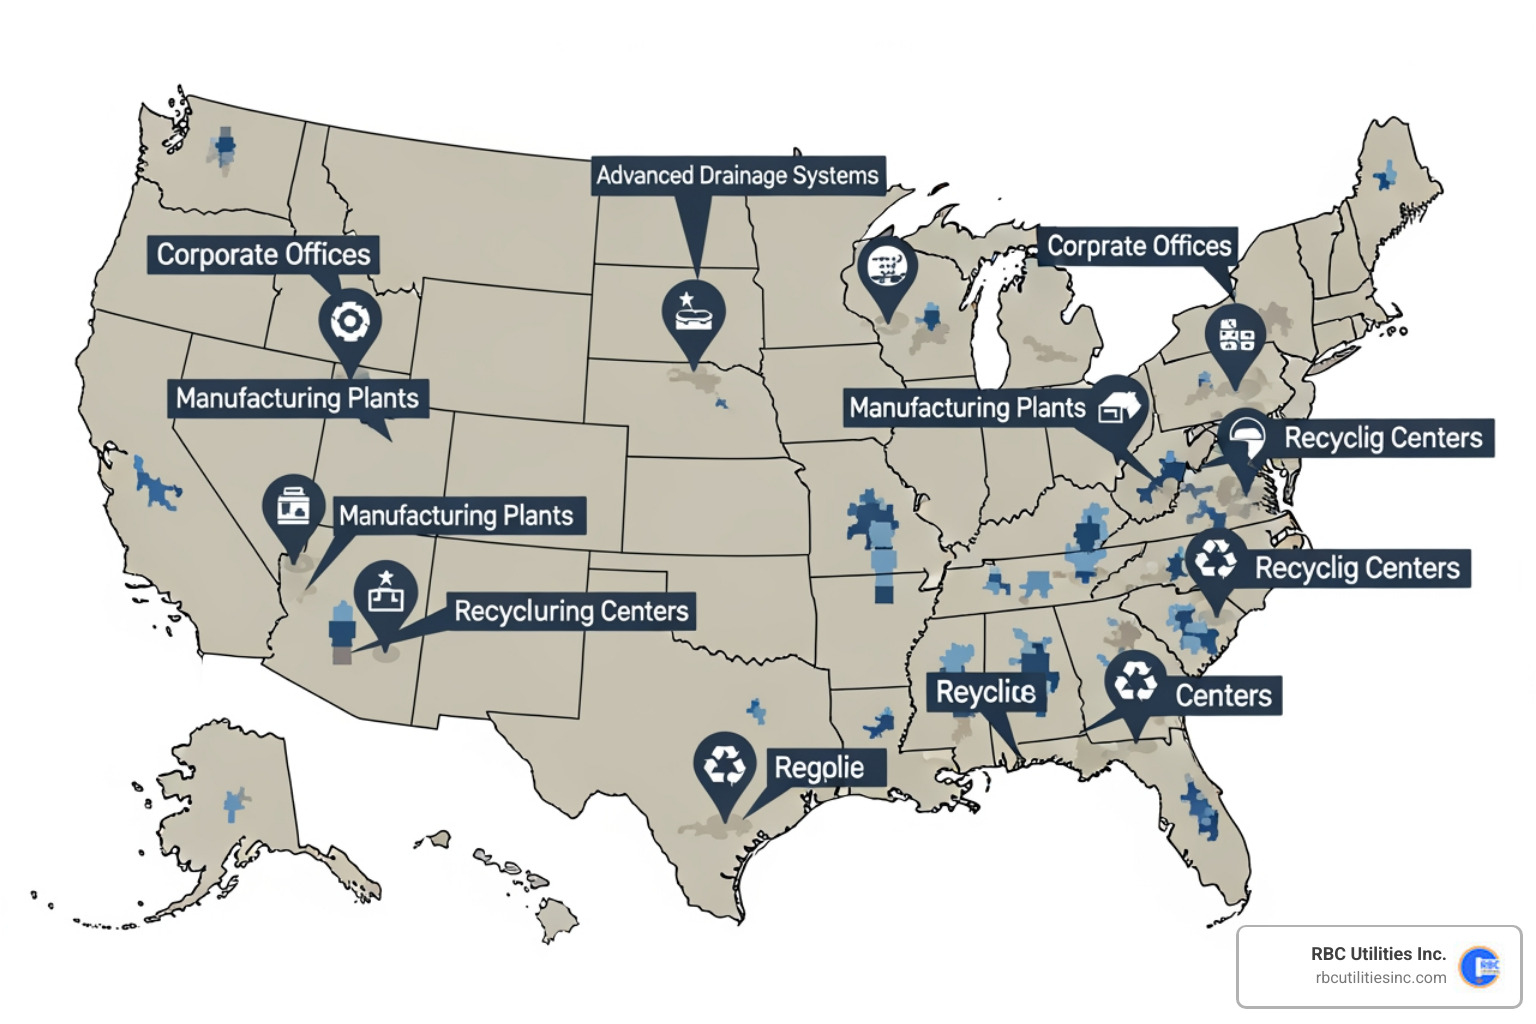
At RBC Utilities Inc., we take pride in building the invisible infrastructure that powers our homes and businesses. Whether you're planning a new residential subdivision in Charlotte or a commercial complex in South Carolina, our team brings local expertise backed by the national resources of Saga Infrastructure. We don't just lay pipe; we build reliability.
Ready to take your project sub-surface? Contact us for your next underground utility project and let’s get to work on a power system that’s built to last.
Part of Saga Infrastructure, protecting what others built and helping it grow.
Address: 4404 Stuart Andrews Blvd., Suite K, Charlotte, NC 28217
Email: info@rbcutilitiesinc.com
Phone: 803-913-9727
Service Area: North Carolina | South Carolina